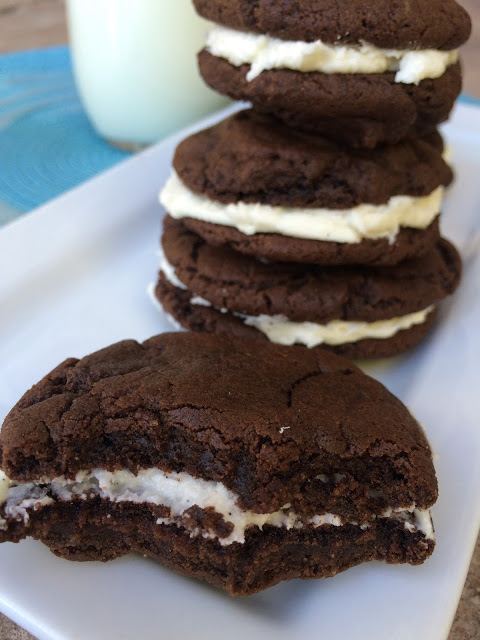

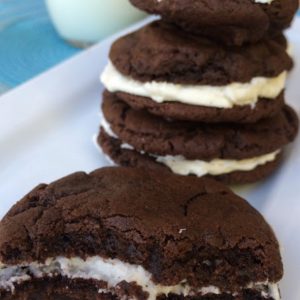
I love having these kids at our home and couldn’t be happier that both of my girls have their best friends right across the street from us. We have adopted these girls as our own, and I couldn’t love them more if I gave birth to them myself. The other day it was Anna’s birthday (far left) and so we made her a batch of her favorite cookies. She LOVES homemade Oreos. She didn’t want a cake, but wanted a batch of these delicious cookies all to herself. Thankfully for us, she shared with all those pleading eyes around her 😉 I have to agree with Anna, these cookies really are fantastic!! The chocolate cookie is moist, rich in chocolate flavor and sandwiched between a delicious butter cream frosting. I am so thankful to have Anna in my life as a friend for my daughter, and myself! Happy Birthday Anna and for all of you, if you need a new and delicious cookie recipe, this one is a keeper! And if you have teenagers at home, put them to work to make you a big batch 😉

Ingredients
- 1 1/2 sticks butter
- 2 1/4 cup granulated white sugar
- 1/2 cup brown sugar
- 3 eggs
- 3 tsp. vanilla extract
- 3/4 tsp. salt
- 3 tsp. baking soda
- 1 cup cocoa powder
- 3 1/2 cup flour
- BUTTER CREAM
- 1 1/2 sticks butter
- 1/2 cup butter shortening
- 2 tsp. vanilla extract
- Dash of salt
- 1/4-1/2 cup milk as needed
- 5-6 cups of powdered sugar
Instructions
- Preheat an oven to 350 degrees. In a mixing bowl, beat together the butter (at room temperature) until smooth. Add the sugars and continue to beat until the sugar dissolves and the mixture is smooth. Add the eggs one at time while the cookie dough is mixing. Add the remaining ingredients and the flour one cup at a time until the cookie batter is smooth and combined. If you have time, you can put the dough in the fridge for up to 30 minutes to an hour (if you don't, you might need to add a little more flour to make sure your cookies don't turn out flat--try baking a few to see what the texture looks like). Spray a cookie sheet, or line the pan with parchment paper. Place a cookie dough ball on the tray smaller than a golf club, about 2 tsp. (you want a smaller cookie than normal because they will spread a little and you eat two at the same time). Roll the dough into a ball and then press the top down slightly. Bake for 5-7 minutes until cookies are still soft (you don't want to over cook). When cookies are done, remove and place them onto a cooling rack while you make the frosting.
- For the frosting, beat the butter shortening until smooth and soft. Add the salt, milk and vanilla extract and then one cup of powdered sugar at a time. Continue to beat until the frosting is smooth, whipped and light. The more you whip the frosting, the softer it will get. You want the frosting to be a little more thick than a regular frosting because it needs to hold the cookies together. When the cookies cool, spread some frosting on the bottom of each cookie and press together slightly. Makes about 2 dozen sandwich cookies.