This is one of my favorite fall activities..to make homemade salsa and chili with all of the tomatoes from our garden. The great thing about making salsa and chili at the same time is that they are made with pretty close to the same ingredients, so you save steps my doing them together. The base of salsa and chili is pureed tomatoes (keep the skins ON and just puree them until smooth in a food processor), chopped peppers, onions, garlic, and jalapenos (chop those in your food processor as well). There are two MUST haves when making large batches of chili and salsa..a large roaster pan (I use this for everything, it holds a lot and can cook up to 500 degrees if needed) and a food processor. These two items simplify the process and make cooking time MUCH easier.
For the homemade chili, I don’t have an exact recipe (sorry!), I just dump in a bunch of ingredeints, taste it and play around with several different spices. Here is the steps though to making homemade chili (from DRY beans..a GREAT way to use those dried beans in your storage).
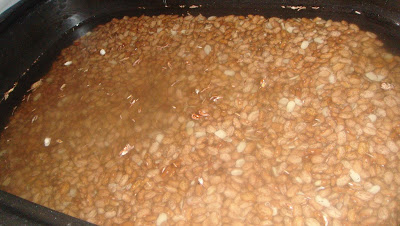
First, I cook about 12-15 c. of DRIED pinto beans in my roaster pan with twice as much water as beans. I pour about 1/4 c. of baking soda in with the beans and water (this is supposed to help the beans cook faster and cut down on the ‘gasiness’ of the beans–or, is that just rumor??) I then boil the beans until they are soft which takes about 4-6 hours (or longer if your beans are older).

(cooking the dried beans)
Once the beans are soft I try to take out as much of the ‘bean water’ as I can (it gets dark and gray). I then puree about 4 processor containers full of garden tomatoes (rinsed and pureed–with skins on). This is probably about 30-40 tomatoes. 
I then puree about 3-4 bell peppers, 3 large onions, 5 cloves of garlic all together in the processor. I then pour the tomatoes and pepper/onion mixture into the beans and let it simmer another couple of hours until the chili begins to get thick (with the lid off). I then saute about 4-5lbs. of sausage and 1-2 lbs. of hamburger (you can use all one or the other, or use turkey burger to make it even healthier…or, omit the meat all together and have a meatless chili). 
I then add the seasonings and meat into the chili–thyme, garlic powder, cayenne pepper, chili powder, salt & pepper, etc. I then add about 6 cans of tomato sauce and a little water if the chili is too thick. Let it simmer until ready to serve and you are set!
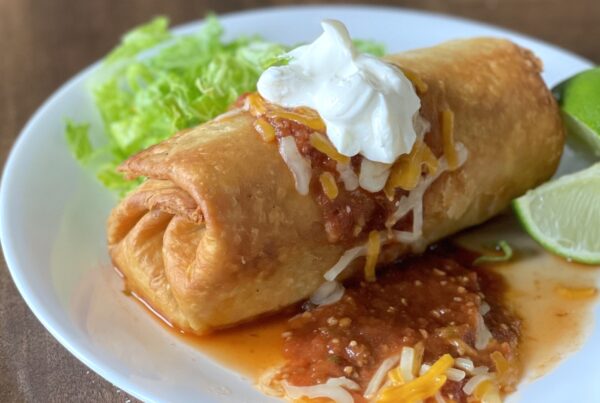
Now..what do we do with all of this chili you ask? Well, my husband has a yearly ‘fall kick-off’ party at our house where we serve navajo tacos to all of our friends and family, watch a scary movie, and eat lots of ‘fall’ desserts–pumpkin rolls, cinnamon rolls, and pumpkin cookies…yum! With the chili that is left (there is always still LOTS left), I freeze in gallon freezer bags for later freezer meals. I love having chili in the freezer for quick meal ideas (chili dogs, chili & cornbread, navajo tacos, etc.). Chili freezes great and even gets better and more flavorful the longer it sits. YUM, YUM, YUM!!

If you would like my favorite recipe for bottled and fresh salsa, visit our blog www.dealstomeals.blogspot.com 🙂